In company on 2017-08-31 by para
前言:
前段时间,我做了一个很重要的决定,离职了并加入了一个新的团队,一切都像从新开始一样。但是一些工作的习惯还是需要我做出一些调整的地方。这其中有个很重要的变化,开发工具需要从webstorm变成vscode了,这倒不是公司强制要求的,但是,我认为遵循一些团队性的规范和约定,能够避免很多浪费时间的useless work(浪费时间而且解决了也不会提高技术性的work,比如java中的环境变量的配置)。
从开始说起
webstorm的功能集成的非常强大,如果对优雅型编程不那么敏感的小伙伴们可以去这里看看它是否符合你的心意,一个高度集成化的工具,号称最智能的javascript编辑器了,唯一的缺点是,如果项目很大,启动一个项目将会变得非常迟缓,这在以即时性为特征的前端,几乎是不可忽略的弊端,所幸JetBean也意识到了这点,并开始做出内存优化的工作。
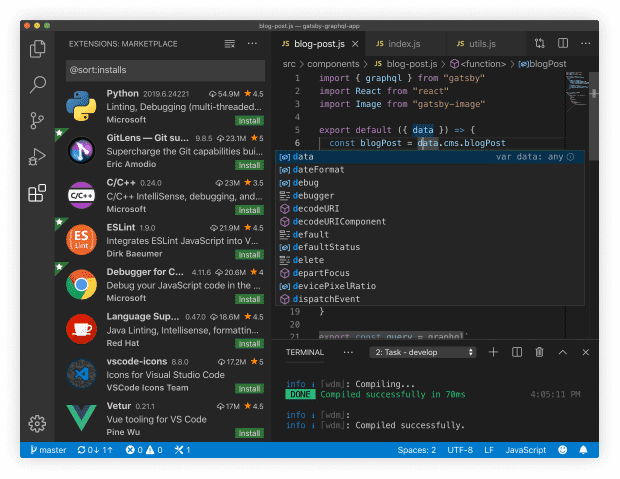
我们团队目前以vscode编辑器为主要开发工具。Visual Studio Code(以下简称vscode)是一个轻量且强大的代码编辑器,支持Windows,OS X和Linux。内置JavaScript、TypeScript和Node.js支持,而且拥有丰富的插件生态系统。微软的良心之作,我相信这个产品一定会让微软在开发者眼中加很多分,起码可以弥补IE给开发者的糟糕印象。
目前vscode已经开源。
node项目调试
开始,launch.json!
vscode调试的依赖其实只有一个launch.json文件,就像webpack依赖webpack.config.js和gulp依赖gulpfile一样,launch.json是vscode调试的配置文件。 首先要说明的一点是,目前vscode默认不会生成launch.json文件。所以我们需要找到方法去生成它,虽然你可以手动在.vscode文件夹下建一个名为launch.json的文件,但是我们有更简单的办法,为什么不用简单的办法呢。
首先,点击界面左边列表的第四个图标进入调试界面

然后添加配置,默认添加node.js进程,如果你想添加gulp,mocha,npm等等进程,后面也会有地方给你修改

现在.vscode目录下已存在launch.json文件了,现在需要修改launch.json的内容。 这儿是一份详尽的配置文件示例,如果需要更详细的文档,请访问这儿
{
  "version": "0.1.0",
  // List of configurations. Add new configurations or edit existing ones.
  // ONLY "node" and "mono" are supported, change "type" to switch.
  "configurations": [{
    // Name of configuration; appears in the launch configuration drop down menu.
    "name": "Launch helloworld",
    // Type of configuration. Possible values: "node", "mono".
    "type": "node",
    // Workspace relative or absolute path to the program.
    "program": "examples/helloworld/bin/www",
    // Automatically stop program after launch.
    "stopOnEntry": false,
    // Command line arguments passed to the program.
    "args": [],
    // Workspace relative or absolute path to the working directory of the program being debugged. Default is the current workspace.
    "cwd": ".",
    // Workspace relative or absolute path to the runtime executable to be used. Default is the runtime executable on the PATH.
    "runtimeExecutable": null,
    // Optional arguments passed to the runtime executable.
    "runtimeArgs": ["--nolazy"],
    // Environment variables passed to the program.
    "env": {
      "NODE_ENV": "development"
    },
    // Use JavaScript source maps (if they exist).
    "sourceMaps": false,
    // If JavaScript source maps are enabled, the generated code is expected in this directory.
    "outDir": null
  },
  {
    "name": "Attach",
    "type": "node",
    // TCP/IP address. Default is "localhost".
    "address": "localhost",
    // Port to attach to.
    "port": 5858,
    "sourceMaps": false
  }]
}
实际上,我们也并不需要这么多配置,很多配置只需要默认就好了,这儿是一份我常用的gulp流项目调试的示例:
{
  "version": "0..1",
  "configurations": [
	  {
	    "type": "node",
	    "request": "launch",
	    "name": "Gulp serve",
	    "program": "${workspaceRoot}/node_modules/gulp/bin/gulp.js",
	    "args": [
        "build",
        "--modules=member-benefits/home"
	    ]
	  }
  ]
}
program是要执行的gulp进程的入口文件。等于是node先去找到这个gulp.js启动了gulp进程,
后面跟的args是参数,上述相当于在项目目录下执行命令:gulp build –modules=“member-benefits/home”,这个命令将会打包指定目录下的代码。
点击调试按钮

增加断点调试
 此时在程序运行需要的任何文件中添加断点,调试程序都会在此暂停,供调试。
值得一提的是这儿,

- Continue
- Step Over (F10)
- Step Into (F11)
- Step Out (F12)
- ReStart Project
- Stop
和chrome上调试是一样的。